
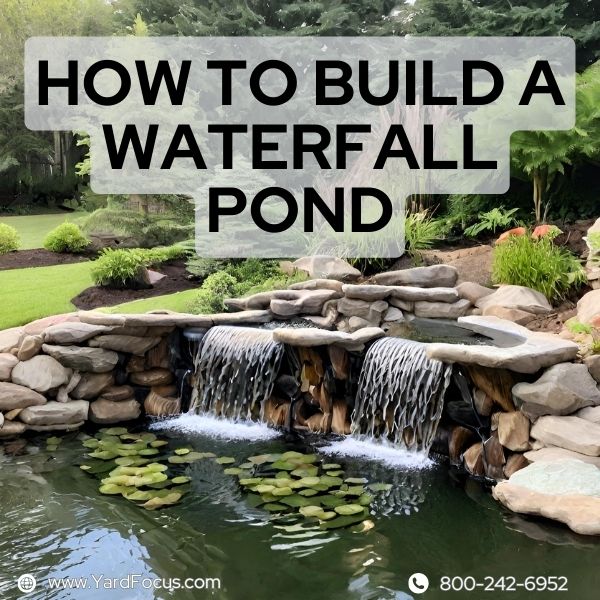
How to Build a Waterfall Pond
Discover how to build a waterfall pond and transform your backyard. This project requires not just creativity but also practical skills.
Fear not – our step-by-step guide is crafted to help you confidently create a tranquil water feature, even if you're new to the world of DIY landscape design.
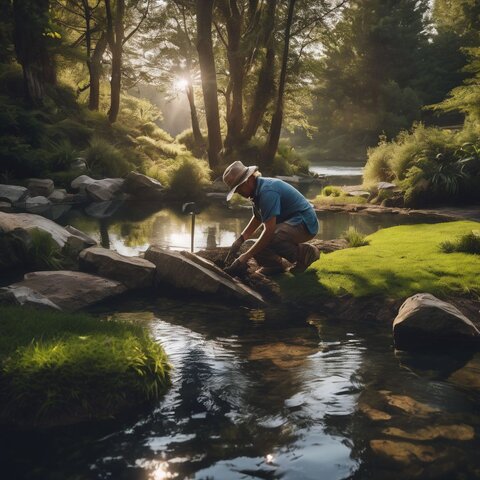
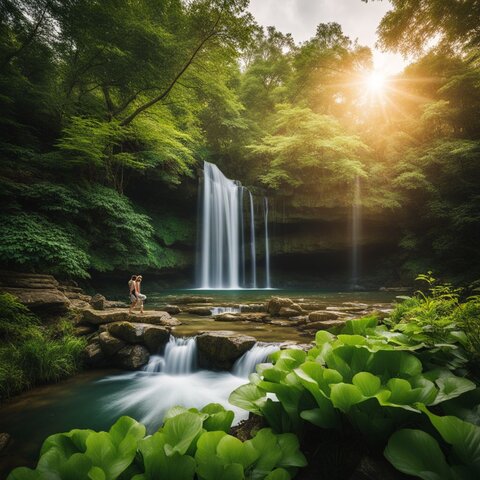
Immerse yourself in nature's melody as we dive into constructing your very own backyard oasis.
Planning the Waterfall Pond
Before the first shovel of dirt is moved, careful planning will set the foundation for your tranquil backyard oasis.
It's imperative to carefully consider how your waterfall pond will integrate with your existing landscape and daily life—ensuring it becomes a natural and functional extension of your outdoor living space.
Choosing the location
Pick a sunny spot in your backyard for the waterfall pond. Look for a place that gets at least six hours of direct sunlight each day.
This helps the aquatic plants grow well.
Keep in mind that the amount of sunlight required can vary based on the types of plants you plan to include in your pond.
Additionally, too much direct sunlight in hotter climates can lead to excessive algae growth and may harm some aquatic life.
However, excessive sunlight can elevate water temperatures to levels that may be harmful to fish and plants, and could encourage algae growth.
If possible, avoid placing your pond under trees to minimize maintenance.
Leaves and seeds can accumulate in the water, necessitating additional cleaning and potentially harming aquatic life.
Also, make sure your pond isn't where runoff from rain will get into it.
To protect your pond from grass clippings and chemicals, consider constructing a ridge or digging a shallow channel around its perimeter as a barrier.
Considering the size and shape
Think about how much room you have for your waterfall pond. Make sure the area is big enough so it won't feel too tight once everything is set up.
The shape of your pond will affect where water flows and how it looks.
Choose a design that fits naturally in your backyard, like a round pond for a cozy corner or an elongated one for alongside a pathway.
Your choice should reflect the kind of waterfall you want, be it cascading, tiered, or single-drop. Each style has its own space needs and visual appeal.
After picking the size and shape, consider how sunlight and tree coverage impact your spot during different times of the day.
This sets the stage to create a thriving water-garden with vibrant plants and clear water falls.
Planning for sunlight and tree coverage
After deciding on the size and shape, it's time to think about sunlight and tree coverage.
A sunny spot means your waterfall pond gets at least six hours of direct light.

This is great for plants but watch out for heat in summer.
Too much sun can overheat the water, which isn't good for fish or plants, and it makes algae grow like crazy.
You also need to consider trees around your future pond. Some trees drop seeds that make you clean a lot more.
Roots from nearby trees could poke through your pond liner or get hurt when you're digging.
Plus, lots of leaves falling into the water means extra work keeping things clean.
Choose a place with just enough shade to keep temperatures cool without causing too many headaches with maintenance.
Necessary Tools and Materials
Gathering the right tools and materials is a crucial step in crafting your backyard oasis, as it sets the foundation for a smooth waterfall pond construction.

From shovels to EPDM liners, ensure you have everything on hand to transform your vision into reality.
Equipment needed
Building a waterfall pond in your backyard takes the right equipment. Make sure you have all the tools and materials ready.

- Gloves: Protect your hands while working with soil, rocks, and construction materials.
- Shovel: Use this to dig the shape of your pond and create space for plant life.
- Wheelbarrow: Carry dirt, rocks, and plants easily across your yard.
- Utility Knife: Cut the EPDM liner to fit perfectly around your future pond’s edges.
- Mallet: Secure spillway rocks and other elements by tapping them into place gently.
- Level: Ensure all parts of your waterfall construction are even to prevent unwanted water flow issues.
- Garden Hose: Fill your pond with water and help rinse down areas as you work.
- Aquascape DIY Waterfall Kit: This kit includes key components like pumps, liners, and plumbing needed for DIYers creating a waterfall feature.
Materials for construction
After gathering your tools, it's time to choose the right materials for your backyard pond and waterfall.

These are the building blocks that will shape your water feature.
- Pond Liner: Select a 45-mil EPDM rubber liner for durability and flexibility. It molds to the contours of the hole and ensures a watertight pond.
- Underlayment: Place this fabric beneath your liner to shield it from sharp objects like rocks or roots. Never skip this step, as it's key to preventing damage.
- Rocks and Boulders: Use these for creating cascades and decorating around the pond edges. Large flat rocks work well for the waterfall's lip.
- Sand or Soft Soil: Spread this under the liner for an extra layer of cushioning. It helps smooth out bumps and protects against punctures.
- Mortar Mix: This is needed if you plan on cementing rocks in place within or around the waterfall structure.
- PVC Tubing: High-quality tubing will carry water from the pump up to the top of your waterfall. Ensure it is long enough to reach without stretching.
- Pump: A submersible pump is essential. Choose one that can handle moving all your pond’s water at least once every two hours.
- GFCI Outlet Protection: Install a Ground Fault Circuit Interrupter outlet near your pond for safe electricity for your pump.
- Water Plants: Add life to your pond with aquatic plants that also help balance its ecosystem. Look into which species suit your climate best.
- Fish (optional): If adding fish, make sure they are suitable for ponds and get advice on care needs.
Constructing the Pond
Now that you've laid the groundwork for your dream water feature, it's time to get hands-on with constructing your pond.
You'll be rolling up your sleeves to shape the earth and seal in nature’s charm, ensuring a sturdy foundation that will cradle your tranquil escape.
Digging the pond
Digging the pond is a big step in creating your backyard waterfall.
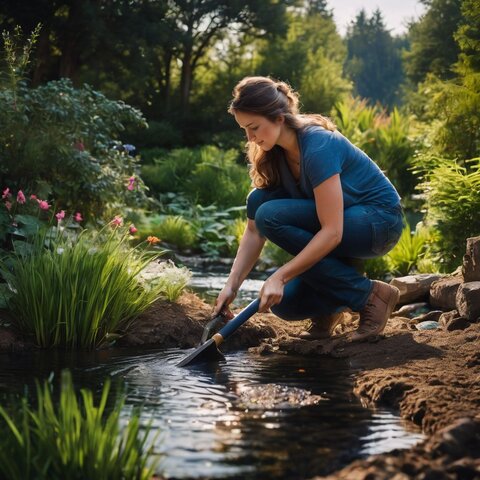
This task requires careful planning and execution to ensure success, and may be challenging for beginners.
- Pick the spot for your pond where it will look natural and fit well with your yard.
- Clear away any grass, plants, or rocks from the area where you will dig.
- Use gloves to protect your hands while working with tools.
- Start digging the hole to the depth you want for your pond, usually 18 inches to 2 feet deep for smaller ponds.
- Slope the sides gently so they are not too steep and animals can get in and out easily.
- Make a shelf around the edge inside for placing plants and making it look nice.
- Dig an extra trench if you need it for where the waterfall will go.
- Grab a wheelbarrow to haul away dirt as you dig it out of the pond area.
- Check that the bottom is flat so your liner will lay smooth later on.
- Use a utility knife or appropriate garden tools for carefully removing roots or obstacles encountered while digging, ensuring safety and minimizing damage to your garden.
Adding underlay and liner
After finishing the digging process, it's time to add an underlay and liner to your pond.
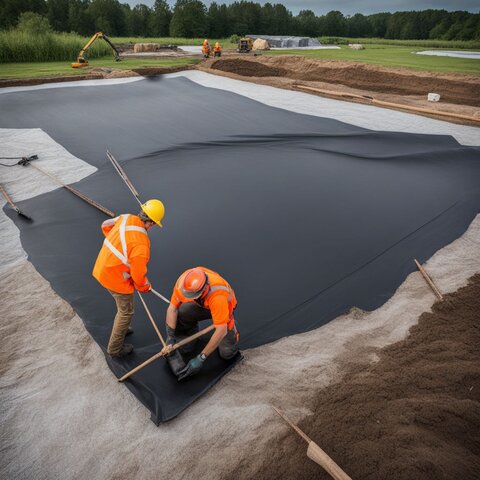
This will protect your pond from sharp objects and make it waterproof. Here's how you do it:
- Lay out a non - woven geotextile fabric as the underlay to shield your liner from roots and rocks.
- Make sure the underlay covers every inch of the excavated pond.
- Choose an EPDM liner for its durability and flexibility.
- Roll out your EPDM liner over the underlay carefully to avoid ripping or tearing it.
- Gently press the liner into place, conforming to the shape of the hole without stretching it.
- Leave a generous overlap of liner around the edges for anchoring later on.
- Use sandbags or rocks temporarily to hold down the edges as you work.
- Avoid walking on the liner with shoes; go barefoot to prevent punctures.
Packing the soil under preformed liners
Once the underlay and liner are in place, it's time to focus on the preformed liners. Soil packing is crucial for these rigid structures.
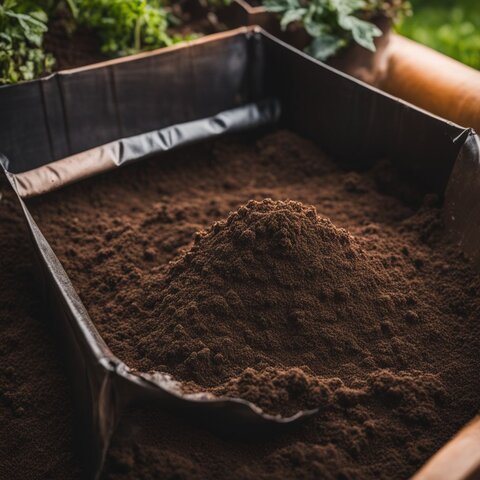
Compact the soil tightly around them to ensure they're fully supported.
This step prevents cracking due to pressure or shifting earth. Use your hands or a tool like a tamper for even compaction.
Keep adding and pressing down the soil until it's firm all around the plastic liner.
Make sure there are no air pockets that could cause uneven support.
Solid soil packing not only supports but also shapes your waterfall pond for years of enjoyment.
Building the Waterfall
When constructing your waterfall, you'll transform the landscape by arranging each stone and securing the water flow.
Creating a tranquil feature that will be the centerpiece of your garden; dive into this chapter to see how it all comes together.
Setting up the basics
Building a waterfall pond starts with laying the groundwork. You need to assemble the essential tools and map out your waterfall's design.
- Pick a spot for your waterfall that's visible and complements your yard.
- Ensure the area has access to electricity for your pump. It is important to consult with or hire a licensed electrician to install outdoor electrical outlets, especially those that need to comply with local codes and safety standards (such as GFCI outlets).
- Utilize a garden hose to visually plan and outline your waterfall's intended shape directly on the ground.
- Grab a shovel and start digging where you've placed the hose, creating space for your pond basin.
- Ensure the pond is at least 18 inches deep to reduce the risk of it freezing solid in winter, though depth requirements may vary based on your local climate.
- Slope one side gently, this will be where water flows back into your pond.
- Place your basin at the lowest point of the dugout area to collect water.
- After digging, remove sharp objects from the soil which could puncture your liner.
Crafting individual waterfalls
Crafting individual waterfalls gives your pond a personal touch.
Follow these steps to create a unique cascade of water.
- Choose different - sized rocks. Large ones make a base, while smaller ones create the waterfall's flow.
- Place the largest rocks first. Create tiers and use them as foundations for the water to fall over.
- Arrange medium stones next. Fit them snug between big rocks to build up your waterfall's shape.
- Use small pebbles around these rocks. This fills gaps and helps direct the flow of water.
- Install your tubing carefully. Make sure it runs from the pump up through the rocks to where your waterfall starts.
- Check the water path with a hose before sealing it in place. Pour water down to see how it flows over your rock arrangement.
- Adjust any rocks as needed to get the desired effect. Change angles or swap stone sizes until you like what you see.
- Apply waterfall foam sealant between rocks. This keeps water from slipping through unseen holes and directs it over visible stones.
- Allow foam to dry completely according to instructions. It must set before you fill with more water permanently.
- Test your waterfall's flow with the pump on. Adjust its speed for more or less flow as you desire.
Working with rocks and tubing
Working with rocks and tubing brings the waterfall pond to life.

These steps make sure water moves smoothly and looks great.
- Choose the right rocks. Pick different sizes for a natural look.
- Place larger rocks first. These are the base of your waterfall.
- Use smaller stones to fill gaps. They help channel the water.
- Ensure tubing is long enough. It must reach from the pump to the top of the waterfall.
- Hide the tubing well. Tuck it behind or beneath rocks so it can't be seen.
- Seal spaces between rocks using foam sealant. This keeps water flowing where you want it.
- Test water flow before finalizing rock placement. Adjust as needed for best effect.
- Secure everything in place. Make sure no rocks will shift and crush the tubing.
Ensuring Waterfall and Pond Maintenance
Maintaining your waterfall pond is crucial for its longevity and aesthetic appeal; learn how to anticipate and address potential issues before they arise.
Discover the secrets to a self-sustaining ecosystem that keeps your backyard oasis thriving with minimal effort.
Preparing for leaks
To mitigate the risk of leaks, ensure that any overlapping liner sections extend at least a few inches beyond each join.

This step is crucial for a watertight seal. Choose tough EPDM liners from a pond supplier to ensure durability.
Such liners are designed for durability and to minimize the likelihood of leaks.
Installing your waterfall pump and tubing needs careful work.
It might be tricky, so getting help from someone who knows what they're doing could save you trouble later on.
Make sure everything fits right and there are no loose connections that can cause leaks down the road.
Planning for easy-care features
Choose plants and materials that need little upkeep for your waterfall pond.
Go for durable rocks and avoid delicate ones that might break easily. Use native plants because they grow well in the local climate without much help.
Add a simple filter system to keep water clean with less work.
Pick a pump that's easy to reach for quick cleaning. Design edges so you can get close without stepping into the water.
Make sure every part of your pond is accessible for cleaning and repairs.
Now, let's get ready to pick tools and materials for the job ahead!
Drain runoff away from pond
To protect your waterfall pond, make sure to guide excess water away. Create a shallow channel or small hill around the pond's edge.
This barrier will keep unwanted silt and lawn chemicals from getting into your water feature.
Use some soil to build up this ridge, ensuring it has enough slope.
Firmly compact soil or sand beneath the liner to support the water's weight more effectively, which can help prevent leaks.
Your waterfall pond will stay healthy and clear if rainwater and runoff can't get in.
Filling the Pond and Starting the Waterfall
Filling your new pond brings it to life. Starting the waterfall adds the final touch of moving water.

- Place a garden hose in the bottom of the pond. Begin filling it with water slowly.
- Check for any unwanted folds in the liner as the pond fills. Adjust them neatly.
- Install your waterfall pump according to the instructions in your DIY kit, like Aquascape.
- Connect tubing from the pump to where your waterfall starts. Use a utility knife for precise cuts.
- Ensure connections are tight and secure using a mallet if necessary.
- Fill until water reaches just below the edge of the pond. Leave room for displacement by rocks and plants.
- Turn on your pump to test the water flow. Adjust its speed as needed for a natural look.
- Add more rocks around the waterfall to guide and enhance its path.
- Keep an eye out for leaks or areas where water might splash out of bounds.
- Call a professional if installing pump and tubing is too challenging or if you're uncertain about electrical safety.
FAQs
What's the first step in building a waterfall pond?
Start by picking the right spot for your waterfall pond and then dig out the shape of your pond.
How do I make sure my waterfall runs well?
Place a strong enough pump to push water up through your waterfall, ensuring continuous flow.
Do you have tips on making my waterfall look natural?
Use rocks and plants around your pond to make it blend with nature.
Can fish live in my new waterfall pond?
Sure! Once your pond is set up and has clean water, you can add fish to enjoy swimming under your waterfall.

Conclusion
Knowing how to build a waterfall pond allows you to add beauty and peace to your yard.
You'll dig, place liners, set up pumps and arrange rocks. Work carefully to prevent leaks and choose low-maintenance options.
Enjoy the sounds of nature with your new waterfall pond after a day's work.