How To Paint A Fire Pit
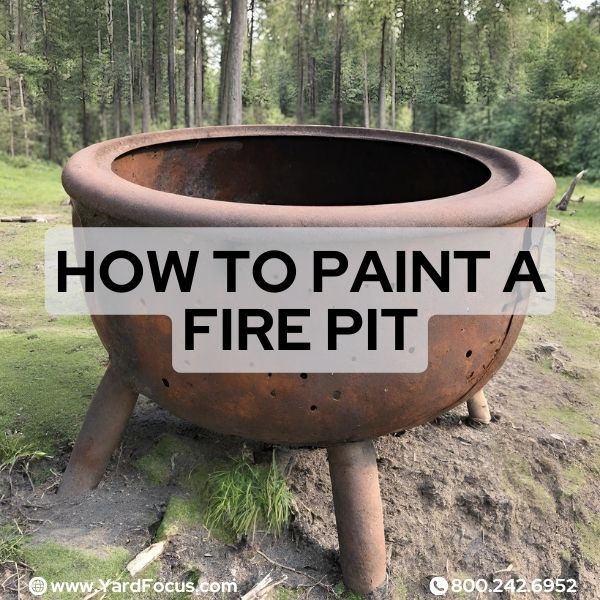
Does your fire pit look old and rusty, and have you wondered how to paint a fire pit?
You can give it a fresh new look with some high-heat spray paint. This special paint can handle temperatures up to 1200°F, offering protection against rust.
In this article, I'll show you how to paint your fire pit in a few easy steps. Let's get started!
Understanding the Need for a Fire Pit Makeover
Over time, fire pits can lose their appeal. Rust, peeling paint, and weather damage make them eyesores in outdoor spaces.
A fresh coat of high-heat spray paint breathes new life into these backyard fixtures.
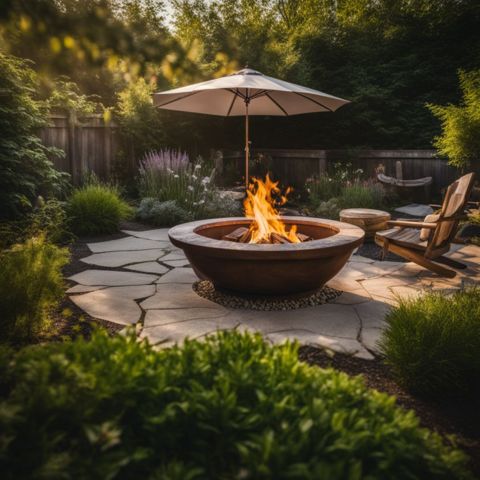
It protects the metal from further deterioration and harsh conditions.
High-heat paint is essential for this DIY project. It withstands the scorching temperatures of wood burning or gas flames.
Matte black is a popular color choice that looks sleek and hides imperfections.
Proper surface preparation with sanding, cleaning, and priming ensures the paint adheres well for lasting results.
Choosing the Right High-Heat Paint for a Fire Pit
High-heat paint can withstand extreme temperatures. Rust-Oleum's matte black spray paint works well on fire pits, BBQ grills, and wood stoves.
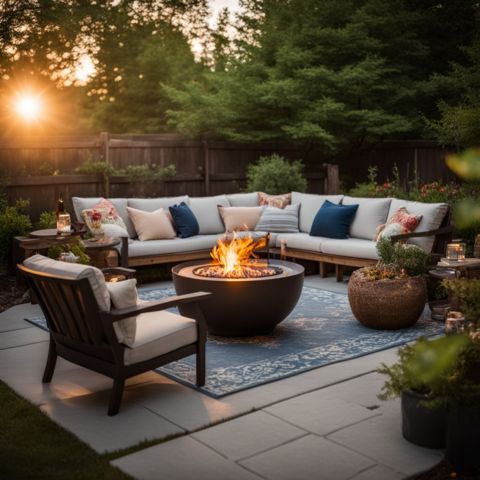
Rust-Oleum high-heat spray paint in matte black
Rust-Oleum's high-heat spray paint is an excellent choice for painting fire pits. This specialty enamel comes in a matte black finish that looks sleek and modern.
It can withstand temperatures up to 1200°F, making it perfect for the intense heat of a fire pit.
The spray paint is designed for easy application, aiming for even coverage, typically achieved within two coats.
But overall, Rust-Oleum's high-heat spray paint delivers stunning results with minimal effort.
Before painting, prepare the fire pit by cleaning it with an all-purpose cleaner or degreaser.
A Step-by-Step Guide to Painting a Fire Pit
Painting a fire pit is easy if you follow the right steps. Clean the surface, apply primer, and then paint with high-heat spray paint.
Preparing the fire pit
Preparing your fire pit for painting is crucial. Follow these steps to ensure a smooth and long-lasting finish:
- Clean the fire pit thoroughly with a wire brush and soapy water to remove any dirt, debris, or rust. Rinse it well and let it dry completely.
- Use sandpaper or a sanding block to rough up the surface of the fire pit. This will help the paint adhere better and create a more even finish.
- Wipe down the fire pit with a tack cloth or a damp rag to remove any dust or debris from sanding.
- Cover any areas you don't want to paint with painter's tape or newspaper. This includes the inside of the fire pit, the grate, and any handles or decorative elements.
- Set up your workspace on a drop cloth or newspaper in a well-ventilated outdoor area away from flammable materials. Ensure it’s on a level surface to prevent paint drips, and always wear appropriate protective gear, including gloves and a mask, to safeguard against fumes and direct contact with chemicals.
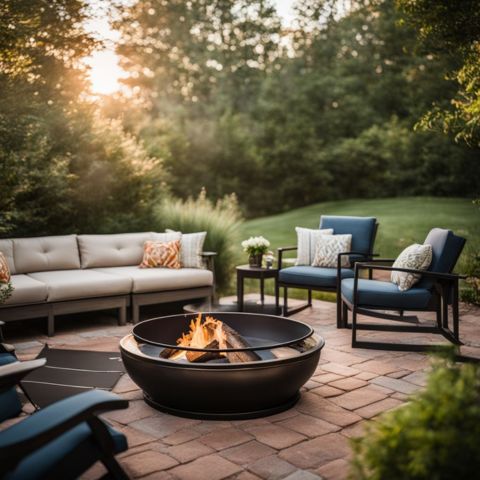
Applying the high-heat paint
Spray painting a fire pit is a simple way to give it a fresh look. Follow these steps to apply high-heat paint correctly:
- Before proceeding with the full paint application, it’s advisable to test the high-heat paint on a small, inconspicuous area of your fire pit to verify compatibility and appearance. This step ensures the final look meets your expectations.
- Shake the can of high-heat spray paint vigorously for at least one minute. This ensures the paint is mixed properly.
- Hold the can about 8-10 inches away from the fire pit surface. Apply the paint in thin, even coats using smooth, sweeping motions.
- Allow each coat to dry completely before applying the next. This usually takes about 30 minutes to an hour, depending on the temperature and humidity.
- Apply a second coat of paint if needed for better coverage. Two coats are usually sufficient for most fire pits.
- Let the painted fire pit cure for at least 24 hours before using it. This allows the paint to fully harden and withstand high temperatures.
After applying the high-heat paint, the next step is to let the fire pit dry and cure properly.
Drying and curing process
The drying and curing process is crucial for a successful fire pit makeover. Follow these steps to ensure your fire pit paint job lasts:
- Allow the paint to dry for at least 24 hours in a well-ventilated area.
- Once dry, place the fire pit in a safe outdoor location away from flammable materials.
- Start a small fire in the pit and let it burn for about 15 - 20 minutes.
- This initial fire helps cure the paint and improves its heat resistance.
- Gradually increase the fire's size and duration over the next few uses.
- After several fires, the high-heat paint will be fully cured and ready for regular use.
By following these steps, you'll have a beautifully painted fire pit that can withstand high temperatures without peeling or flaking.
High-heat spray paint will protect your fire pit from rust and keep it looking great for many cozy evenings around the flames.
After completing your project, ensure to dispose of any leftover paint and paint cans responsibly, adhering to local environmental safety guidelines to prevent harm to your surroundings.
Addressing Common Concerns
You may worry that the paint will burn off. The high-heat paint is made to withstand extreme temperatures.
Will the paint burn?
High-heat paint does not burn like regular paint. It can handle very high temperatures from a fire pit without damage.
The paint turns into a hard, heat-resistant coating after it dries and cures.
This special paint stays on the fire pit surface even when exposed to flames.
Many brands make high-heat paint that works well for fire pits. Rust-Oleum sells a matte black spray paint rated up to 1200° F.
Other options include Krylon and Stove Bright high-temperature paints.
Will the fire pit go up in flames?
Many worry that painting a fire pit with high-heat paint could cause it to catch fire. High-heat spray paint withstands temperatures up to 1200°F (648°C).
This far exceeds the temperatures produced by a typical backyard fire pit or patio heater.
The paint forms a protective barrier on the metal surface, preventing rust and enhancing the fire pit's appearance without increasing its flammability.
FAQs
What is the first step before painting a fire pit?
The first step before painting a fire pit is to make sure the surface is properly sanded. This will help the paint adhere better.
How do I know if I've sanded the fire pit enough?
You'll know you've sanded the fire pit sufficiently when the surface feels smooth to the touch. Make sure to sand evenly across the entire fire pit.
Is sanding really necessary before painting a fire pit?
Yes, sanding is an important step that should not be skipped. Sanding helps create a better surface for the paint to stick to and last longer.
What grit sandpaper should I use to sand a fire pit before painting?
For best results when sanding a fire pit before painting, use a medium grit sandpaper, such as 120-grit. This will adequately smooth the surface without being too abrasive.
Conclusion
Knowing how to paint a fire pit is a simple way to give it new life. High-heat spray paint makes the job easy and provides excellent results.
Follow the steps, and your fire pit will look brand new in no time.
This affordable project will have you enjoying cozy evenings around the fire pit all season long.

