How to Fill in a Pond
You've decided it's time to learn how to fill in a pond and need to know where to start. Filling it in takes careful planning and steps that ensure a smooth transition.
Our blog post will guide you through the process, from safely relocating wildlife to choosing the right fill material for a fresh start.
Dive in with us and transform your water feature into something new!
Understanding the Basics of a Pond
Moving from an overview to specifics, it's important to grasp what makes up a pond.
A garden pond is often a small body of water created for decorative or habitat reasons.
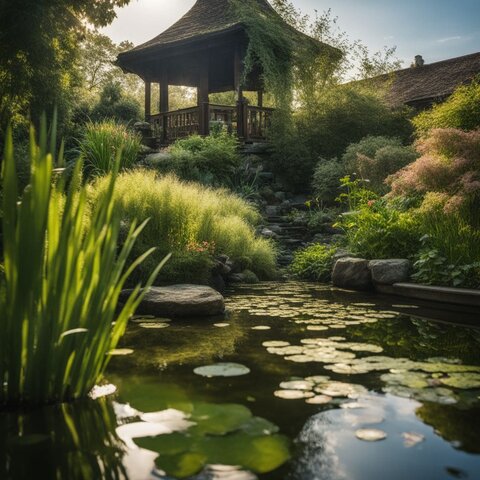
It can be home to fish like pterophyllum and plants such as shining pondweed, greater pond-sedge, and water mint.
Many garden ponds use liners to prevent water from seeping into the surrounding soil, ensuring water remains within the pond's boundaries.
Ponds also have their own watershed or drainage area where surface runoff collects. This means they can affect nearby ground water and creeks.
Understanding these parts helps when it's time to dismantle your garden oasis safely and responsibly.
Steps in Filling in a Pond
Embarking on filling in a pond starts with carefully rehoming any wildlife and strategically draining the water, ensuring you respect both the ecosystem and local regulations.
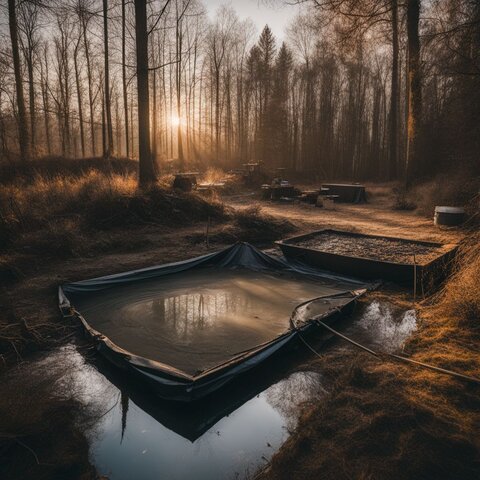
Before beginning the filling process, check with local environmental or land use authorities to determine if you need any permits or professional consultations.
This is especially important for larger ponds or those in sensitive ecological areas, to ensure that your project complies with local regulations and does not negatively impact the environment.
Next, we will go over removing the wildlife from the pond.
Removing the Pond’s Wildlife
Getting rid of wildlife from your pond is key. You must do this before draining the water. Here's how you can safely remove different creatures:
- Check for fish such as koi or goldfish. Scoop them out gently using a net.
- Look for frogs and turtles on the edges or hiding under rocks. Pick them up carefully and place them in a container with water from the pond.
- For small insects or larvae, use a fine mesh to sift them out.
- Move any plants that provide habitats for wildlife. Put them in buckets with pond water.
- When handling animals, always wear gloves to protect both you and the wildlife.
- Transport creatures to a nearby natural body of water, if possible. Make sure it's similar to your pond so they can adapt quickly.
- If you're not sure how to move the wildlife safely, call local animal rescue services for help.
It is very important to consult local wildlife authorities before relocating animals, as introducing species to new environments can be illegal or ecologically harmful.
Draining the Water
Draining your pond can be tough work. You'll need the right tools and some muscle to get it done. Here's how to empty that water out:
- Check local laws first. Some places have rules about where you can release pond water.
- Use a pond pump for quick draining. Place it at the pond's deepest part, running a hose to where you want the water to go.
- For smaller, shallow ponds or remaining water after pumping, a wet vac can be used to remove the last bits of water.
- Try a garden hose siphon. Start by filling the hose with water, then place one end in the pond and the other at a lower spot to let gravity do its job.
- For very small ponds or when a pump is not available, manually removing water with a bucket is an option, though time-consuming and labor-intensive.
- Ask family or friends for help. Don't try to do everything alone; more hands make lighter work.
Disposing the Pond Liner
Once the water is drained from your pond, the next step is to dispose of the pond liner.
This material can be large and cumbersome, so handling it might take some effort. Here's how you can get rid of your pond liner:
- Check for any small animals or plants that could be stuck to the liner. You want to make sure all living things are safely removed before throwing it away.
- Cut the liner into smaller sections using a sharp knife or scissors. Smaller pieces are easier to handle and discard.
- Roll up the cut pieces tightly. This makes them more compact and simpler to move.
- If necessary, transport the rolled-up liner sections to a disposal site, using whatever means you have available, such as a truck, trailer, or local waste collection service that accepts large items.
- Contact local waste management services to find out if they accept pond liners. Determine their requirements for disposal, as some materials may not be accepted in regular trash pickups.
- Consider recycling if possible. Some companies specialize in recycling materials like these.
- Actively research local recycling options for pond liners to minimize environmental impact. If recycling is not feasible, responsibly dispose of the liner sections at an approved landfill, adhering to local regulations.
Filling the Pond with Suitable Materials
Once the pond is cleared, it's pivotal to choose the right materials for filling that will ensure a stable and fertile ground—stick around to unearth what works best for your ex-pond space.
Soil and Rocks
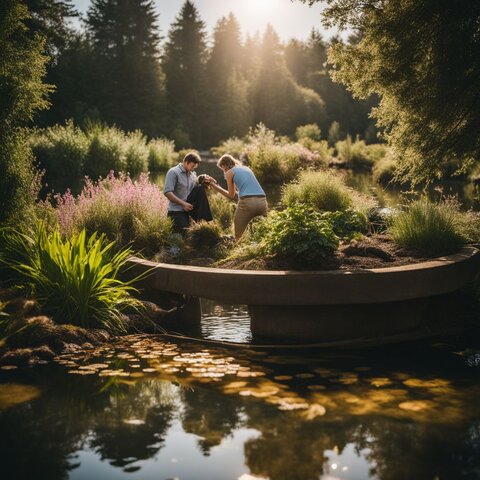
Filling a pond with soil and rocks is often the least expensive method. However, this approach can cause settling over time.
To minimize settling issues, it is recommended to layer the fill materials, compacting each layer before adding the next.
Regularly watering the area can also aid in compaction, but consider using mechanical compactors for larger ponds to ensure stability.
Choose your materials carefully to prevent too much shifting.
Use a variety of soils and rocks to fill in your pond effectively. Mix gardening soil and normal earth for planting areas, adding gravel for better drainage.
Let this mixture settle for several weeks before you start any planting projects.
This waiting period ensures that plants have stable ground to grow in.
Clay-based Soil
Clay-based soil is good for filling a pond. It matches the yard's shape and makes the ground even.
But, this soil can shrink or swell with moisture changes. So, it's key to mix it right for a stable fill.
Use clay-based soil carefully to avoid future problems. Add it slowly and pack it down well.
This creates strong support for whatever you plan in the space later on.
Planting Soil
Choose planting soil as a top layer for your filled-in pond. This type of soil has nutrients that plants need to grow.
You can buy it at most garden stores or make your own by mixing compost with topsoil.
Use planting soil if you plan to turn the old pond area into a garden. It will support flowers, shrubs, and vegetables well.
Water this area often to help the soil settle faster. The ground will go down over time as it packs together from watering and weather changes.
Keep adding more soil until it's level with the rest of your yard.
This makes sure that any dips or low spots don't collect water once you've finished filling in the pond.
Consider consulting with a landscaping professional or engineer, especially for larger ponds, to ensure the filled area remains stable and safe over time.
Transforming the Pond into a Useful Space
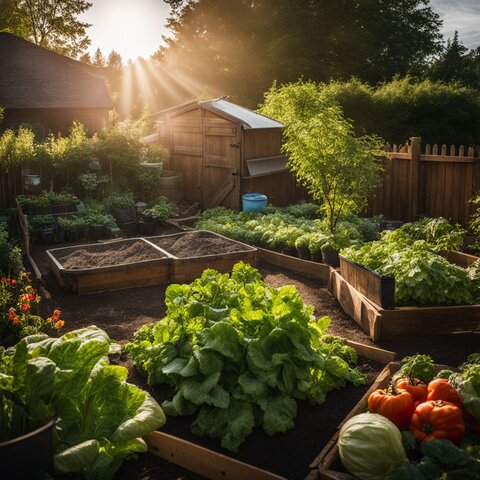
Once your former pond is filled and stable, it's time to reimagine the area.
Envision a space that not only enhances your landscape but also serves a practical purpose for you and your family.
Creating a Sandbox
Turn your old pond area into a fun sandbox for kids to play in. First, make sure you have filled the hole with plenty of soil.
For filling the pond, source high-quality dirt and topsoil from your local garden center or home improvement store, ensuring the material is suitable for your intended use, such as landscaping or gardening.
Press the soil down to make it firm.
Next, add sand on top until you reach the desired depth for a sandbox.
Now, shape the edges with wood or stones to keep the sand in place. A sturdy border will help prevent spillage and maintain a neat look.
Finish off by placing some toys like shovels and buckets inside, so children can start enjoying their new play area right away!
Building an In-ground Trampoline
Dig a hole where the pond was to fit your trampoline frame.
Make sure it is deep enough so that the top of the trampoline will be level with the ground. In-ground trampolines are safer for kids because there's less risk of falling off.
They blend in with your yard and don't block any views.
Pack down a layer of soil around the frame once it's in place. This provides solid support and prevents movement during use.
Get ready to enjoy hours of fun jumping without worrying about taking up space in your backyard like above-ground trampolines do.
Now, imagine turning this spot into an oasis with new plants or even a sandbox for more outdoor adventures.
Planting Trees
Planting trees turns an old pond area into a green paradise. It's easy to do and keeps the space looking great.
Trees like maples or oaks bring amazing colors, especially in the fall.
Their roots help fill up the ground where water once was.
Choose trees that fit well with your local climate and soil. They will grow strong and need less care over time.
This way you save on soil because tree roots take up more room as they spread out.
Now, imagine turning this spot into a fun play zone.
FAQs
Can I use a pump to remove water from my pond?
Yes, pumps are effective for removing water. For remaining sludge, consider a specialized pond vacuum or sludge pump to ensure thorough cleaning.
What do I put at the bottom of a pond once it's empty?
After pumping out the water, you should fill in your pond with substrate like soil or sand.
Should I worry about plants when filling in a pond?
Yes, make sure you handle emergent plants like potamogeton lucens and water crowfoot carefully when clearing your pond area.
Do I need permission before draining my pond into a river?
Absolutely, before draining your pond into any natural water body, including rivers, it's imperative to obtain permission from local environmental authorities to ensure compliance with regulations and prevent ecological damage.
Conclusion
Filling your old pond gives you a fresh start. You can make a new garden or a fun play area.
Choose the right soil and plants to make it look great. The hard work pays off when you see your new space.
Get creative and enjoy transforming your pond!

